Option 1: Amazon Connect
Create sample call recordings with Amazon Connect
One option to create sample call recordings yourself is by using a virtual contact center instance with Amazon Connect. For a reasonable result, you should pair-up with another participant so that one of you can play the agent and one can play the customer. It’s also essential to use a head set, at least for the one using their laptop for playing the agent.
Create your virtual contact center (VCC)
You can launch your virtual contact center in a few steps.
Start with going to the Amazon Connect console. When you go there for the first time, you will likely see a splash screen so that you can click on the
Get startedbutton to land on theAmazon Connect resource configurationscreen. If you use an account where an Amazon Connect instance already exist, you will on overview screen titledAmazon Connect virtual contact center instances. Press theAdd an instancebutton in this case to continue.On the
Amazon Connect resource configurationscreen, you can first decide on howIdentity managementshould take place for your instance. For the purpose of this workshop, we simply let Amazon Connect manage our users, so keep the radio button atStore users with Amazon Connect. In theAccess URLfield, enter a unique value, e.g. the ID of your AWS account or your team ID - it will become part of the URL of the management console for your Amazon Connect instance. Click onNext step.Now you can
Create an Administrator, but we don’t need it for this workshop, so we canSkip thisstep. Click onNext step.For the
Telephony options, we keep the tick in the checkbox forIncoming calls. Since we do not needOutbound calls, we can uncheck this. Click onNext step.For the
Data storagestep, we can leave everything everything as it is and have Amazon Connect create your recording bucket for you. Among other things, Amazon Connect stores call recordings for you. You can explore the options when you click on theCustomize settingslink. When you’re done, click onNext step.In the
Review and Createstep, you can have a final look at your configuration. Please take a note of the name of the S3 bucket that will be created. When you’re happy with everything, click onCreate instanceat the bottom right of the view.Now we’re
Setting up your Amazon Connectinstance, as the pop up reveals. When it furthermore saysThis may take a minute or two, this is meant literally. Usually it doesn’t take longer than two minutes to launch your VCC! Please wait while this happens.Once creation has finished, you will see the
Successscreen. Find theGet startedbutton to launch your Amazon Connect instance management console. Please note the hint below the button that it may take a few additional minutes until the instance management console becomes available.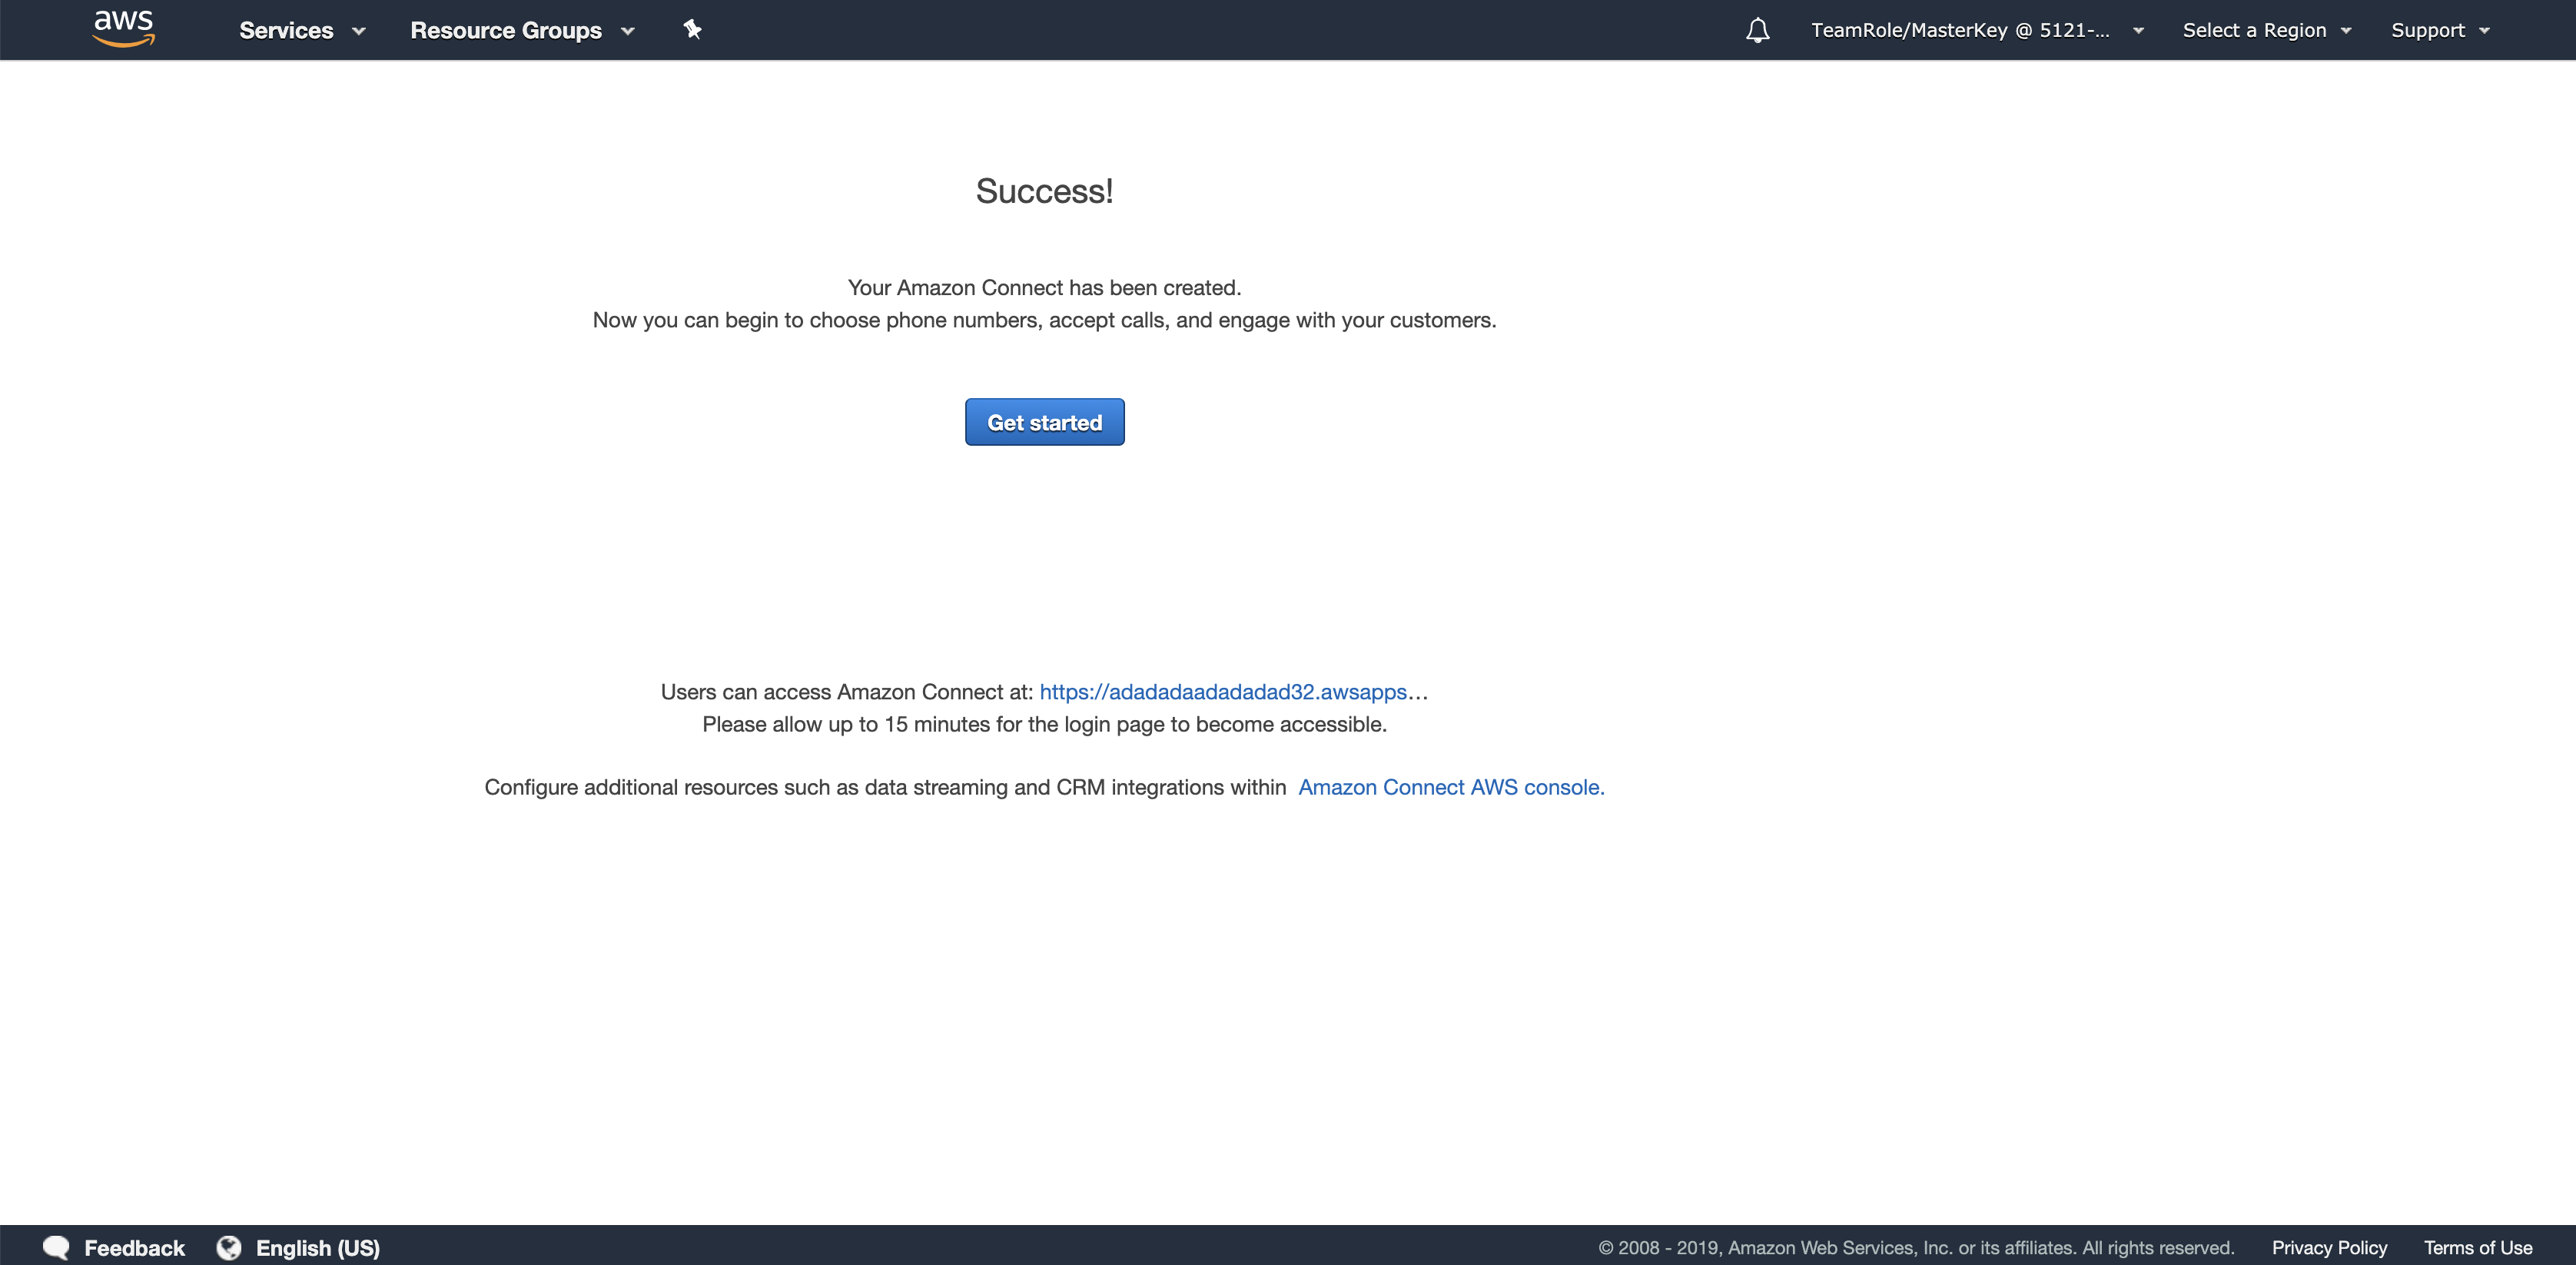
After having clicked on the
Get startedbutton, you land on the welcome page of your Amazon Connect instance management console. Find theLet's gobutton to continue.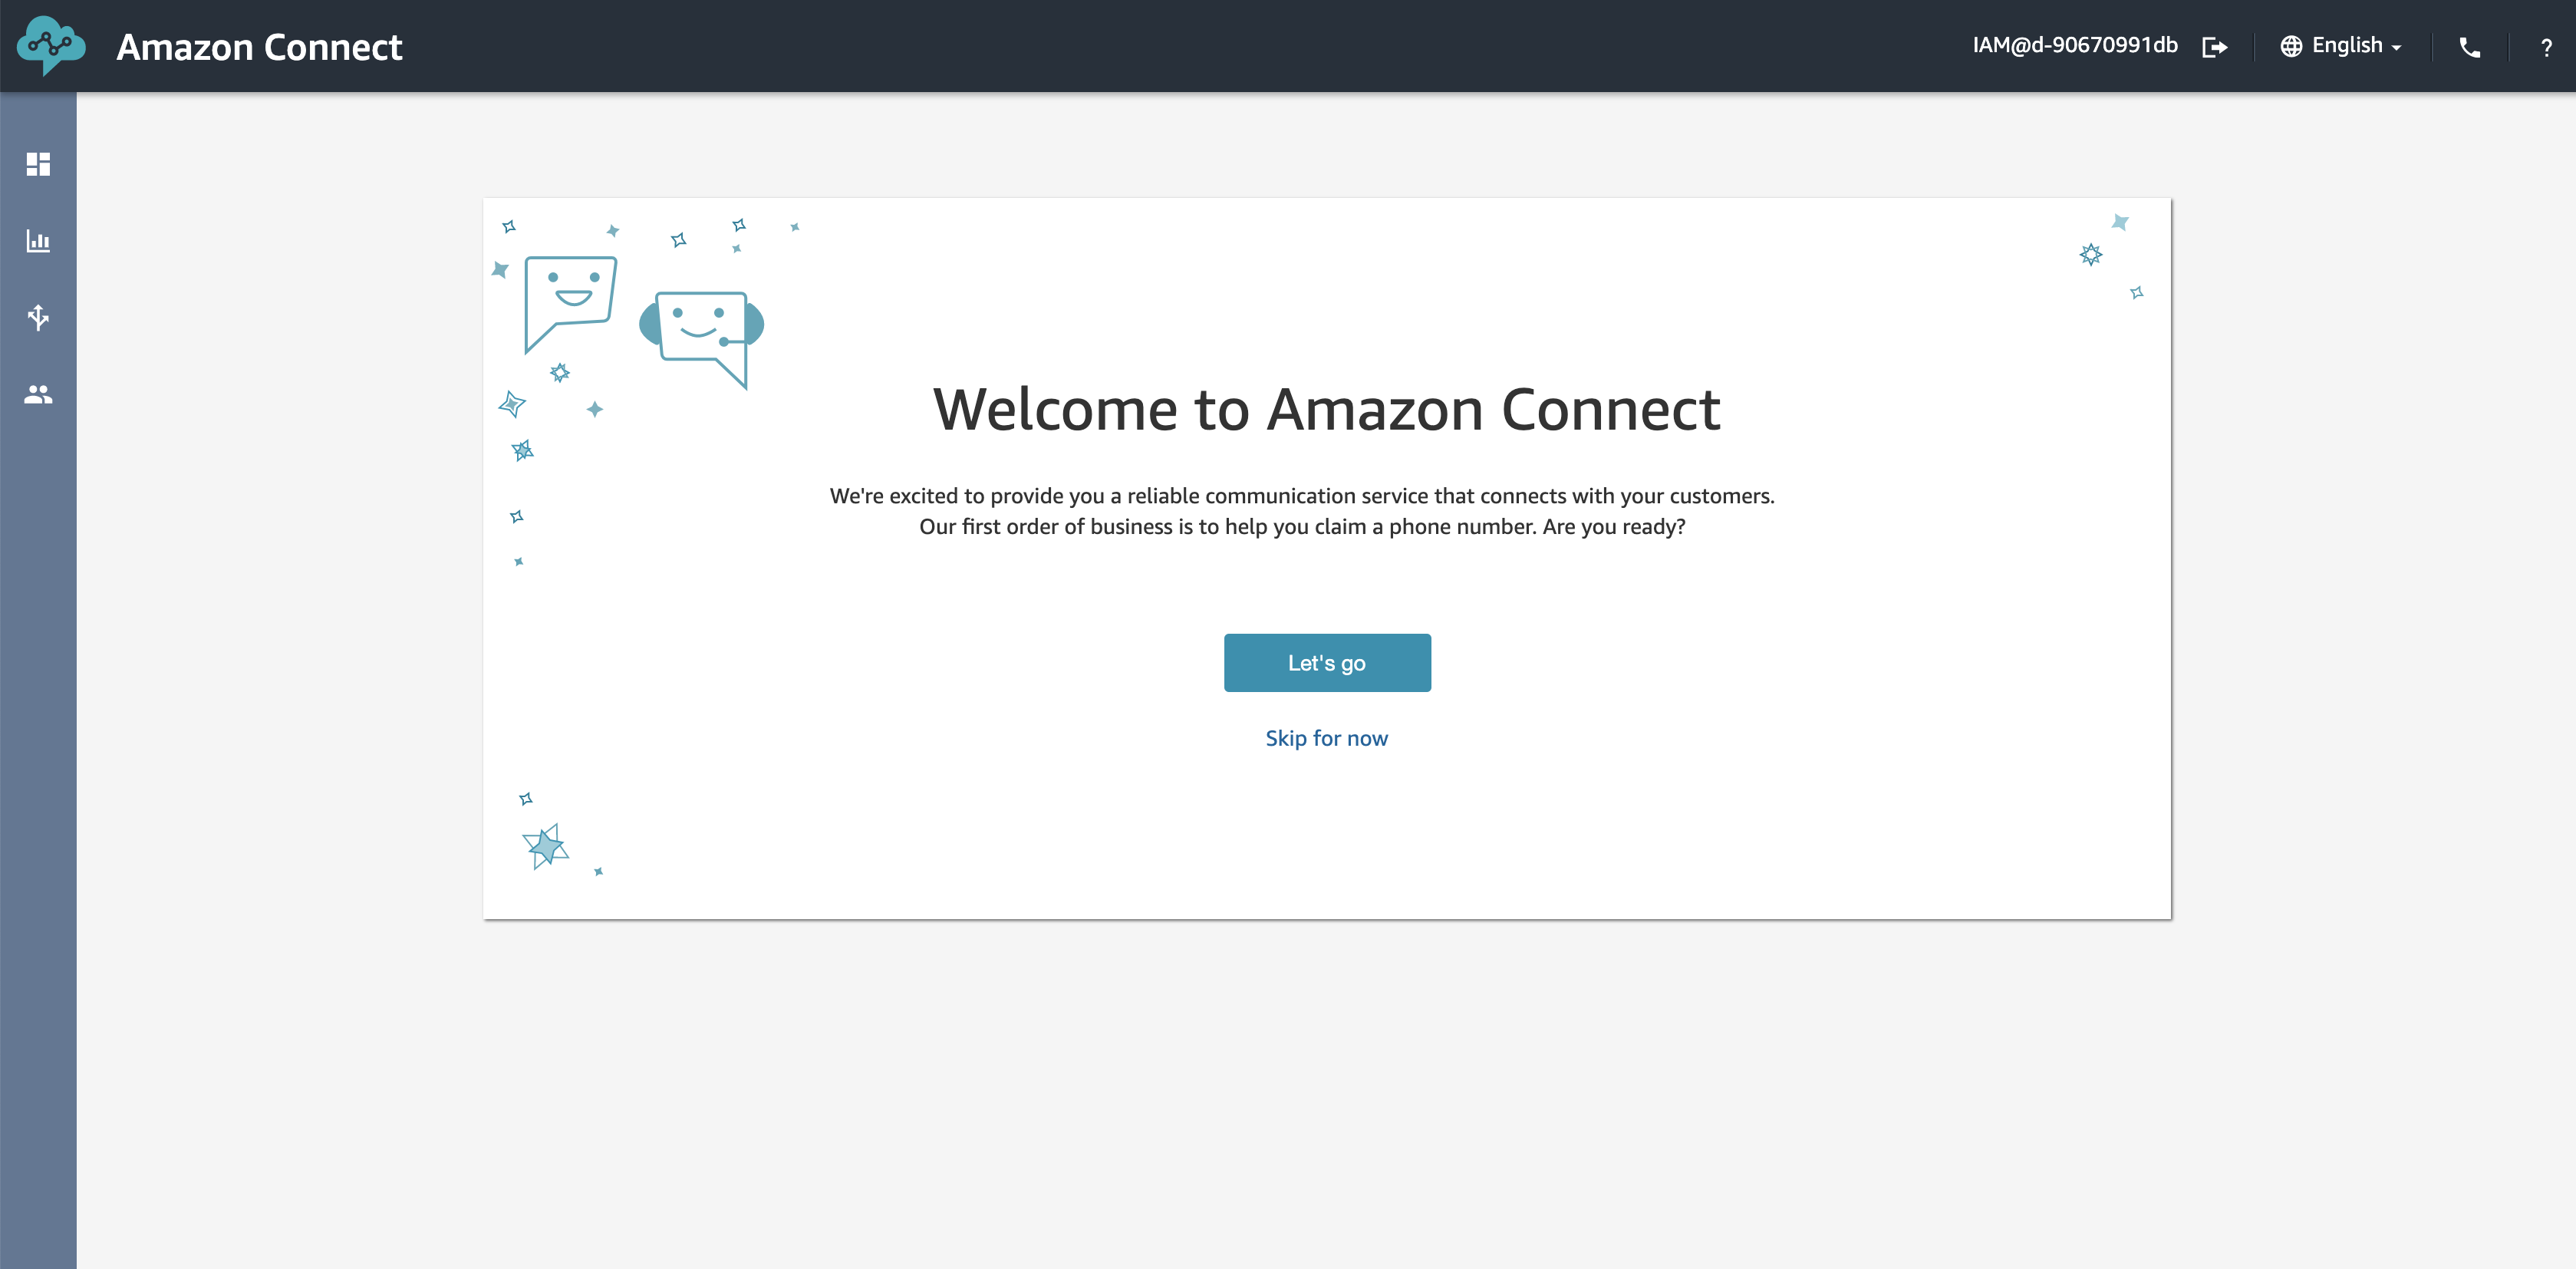
Claim a phone number
Now we need to claim a phone number. Since we’re doing everything in the us-east-1 region in Northern Virginia today, and we’re running this workshop in the US, we want to claim a US phone number.
- Select the US country code in the
Countrydrop down list and the desiredType:Toll Freevs.Direct Inward Dialing. Then you can select one of the resulting numbers available in thePhone numberdrop down list. Once selected, click theNextbutton in the lower right corner of the screen to continue.
Run some calls
Once you could click the
Nextbutton above and your phone number is claimed, you can use the next screen to do a test call. Pick up a cell phone and dial the phone number you have just claimed. The default configuration of your Amazon Connect instance will answer with a menu of options. Please select option6first to set the call recording parameters. Within that submenu, select1to enable call recording for both customer and agent. Back in the main menu, select1to get in queue for an operator and follow the voice instructions.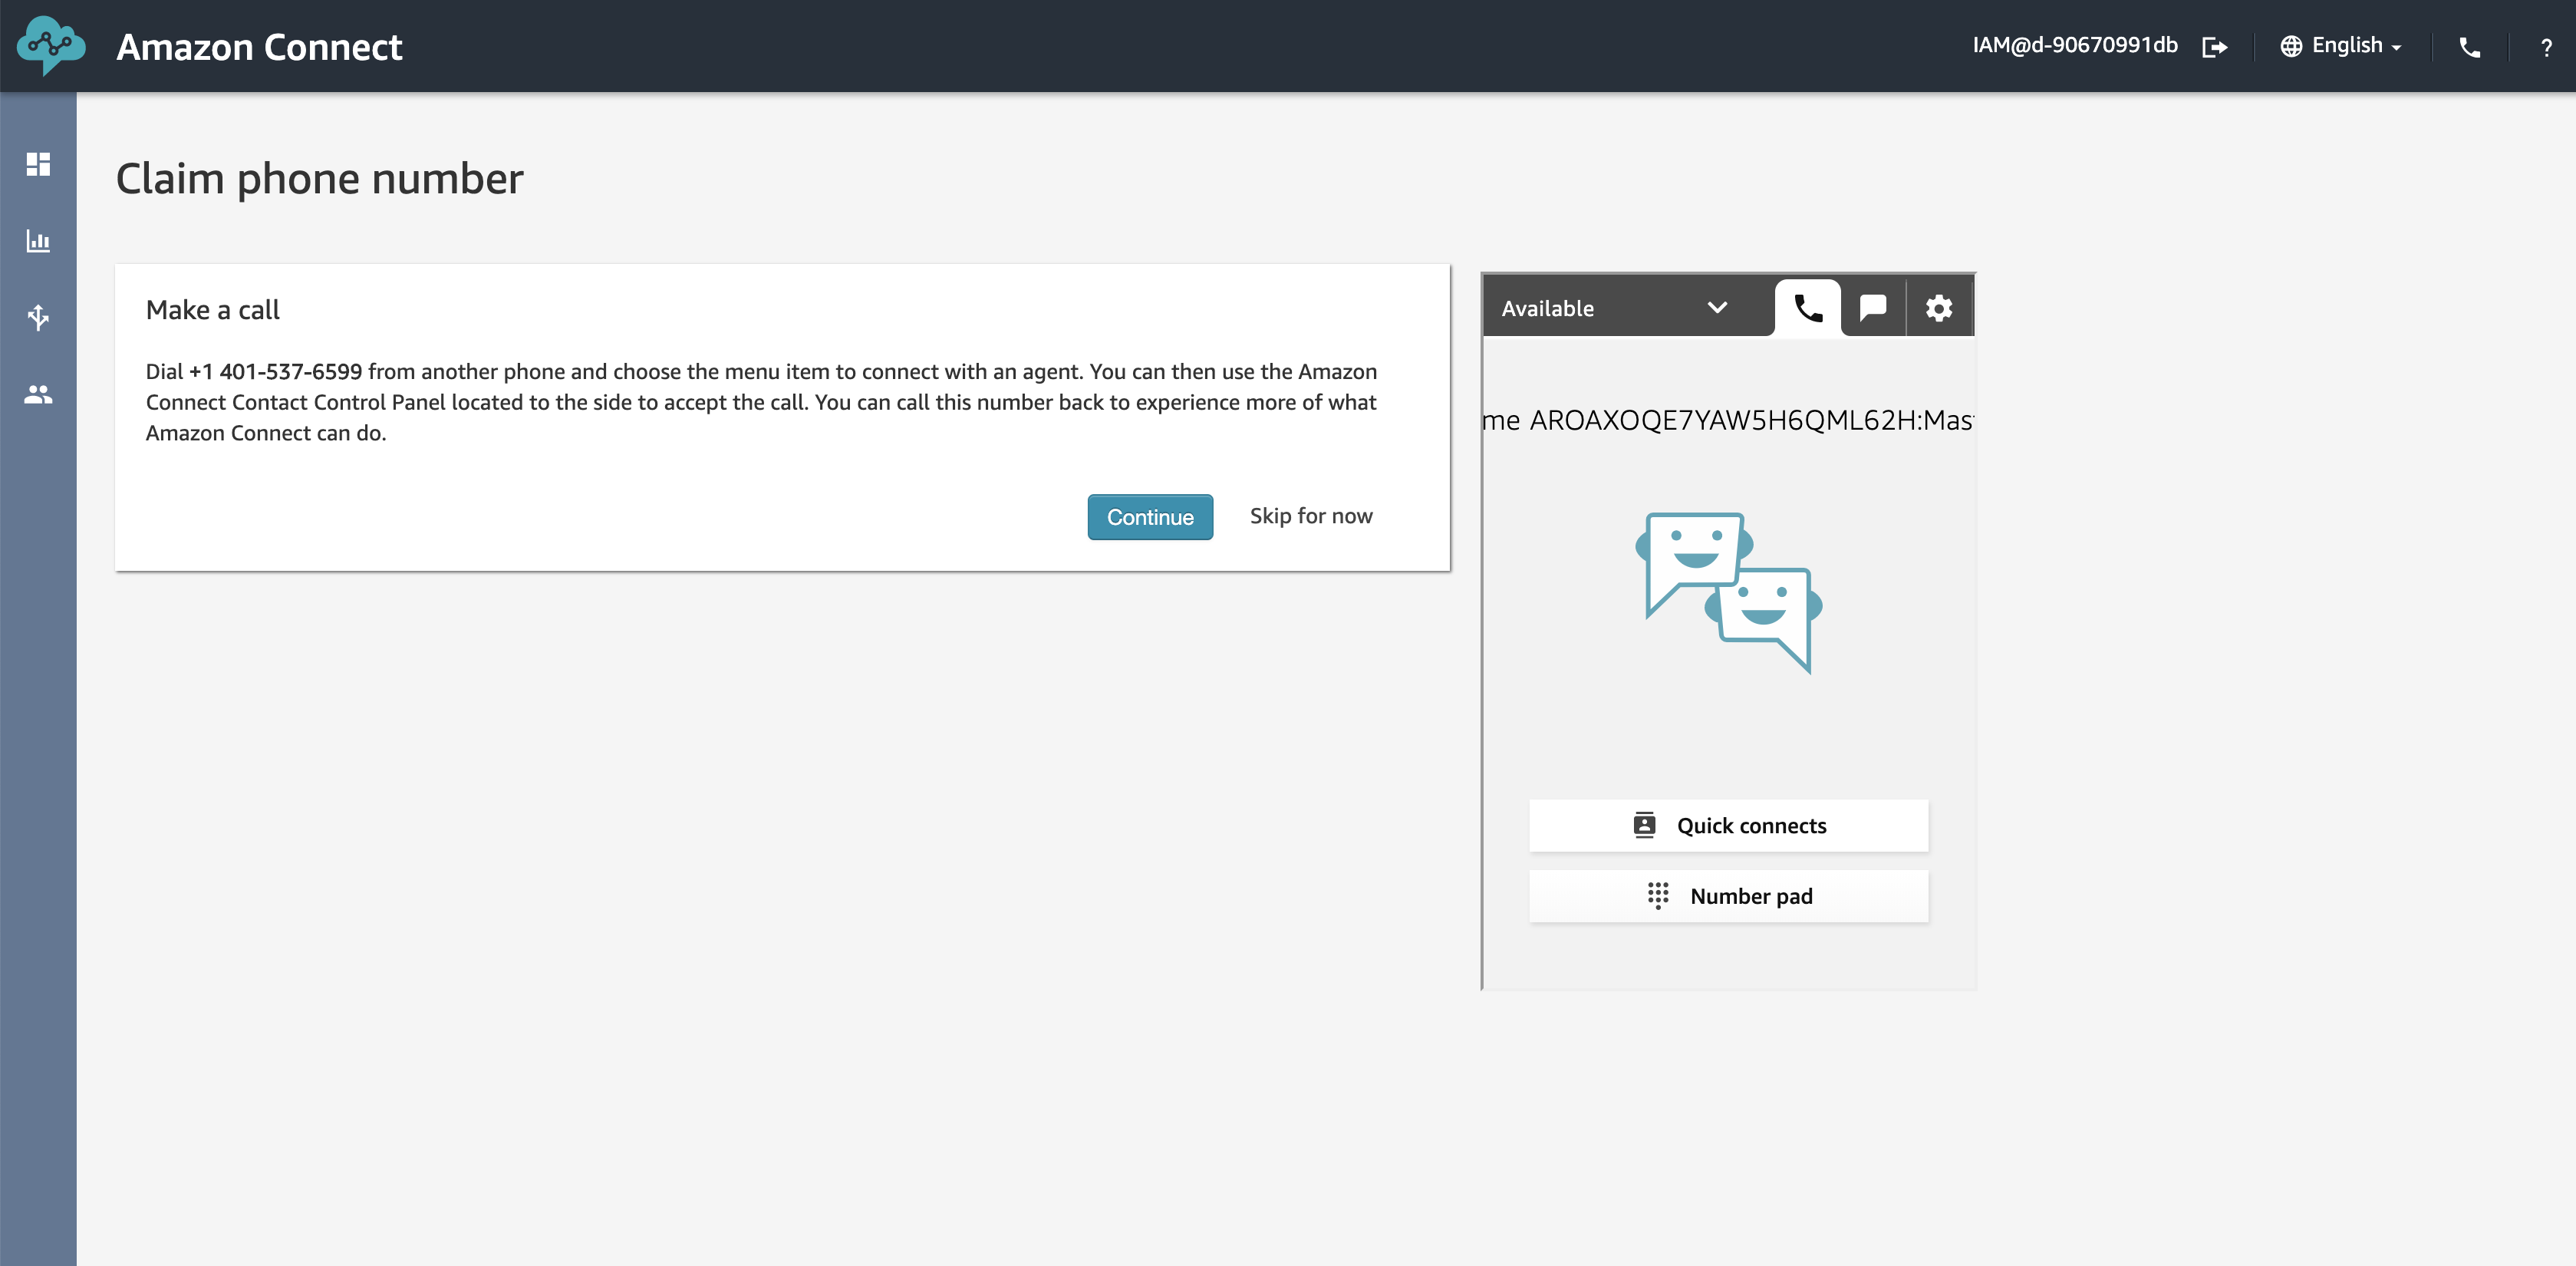
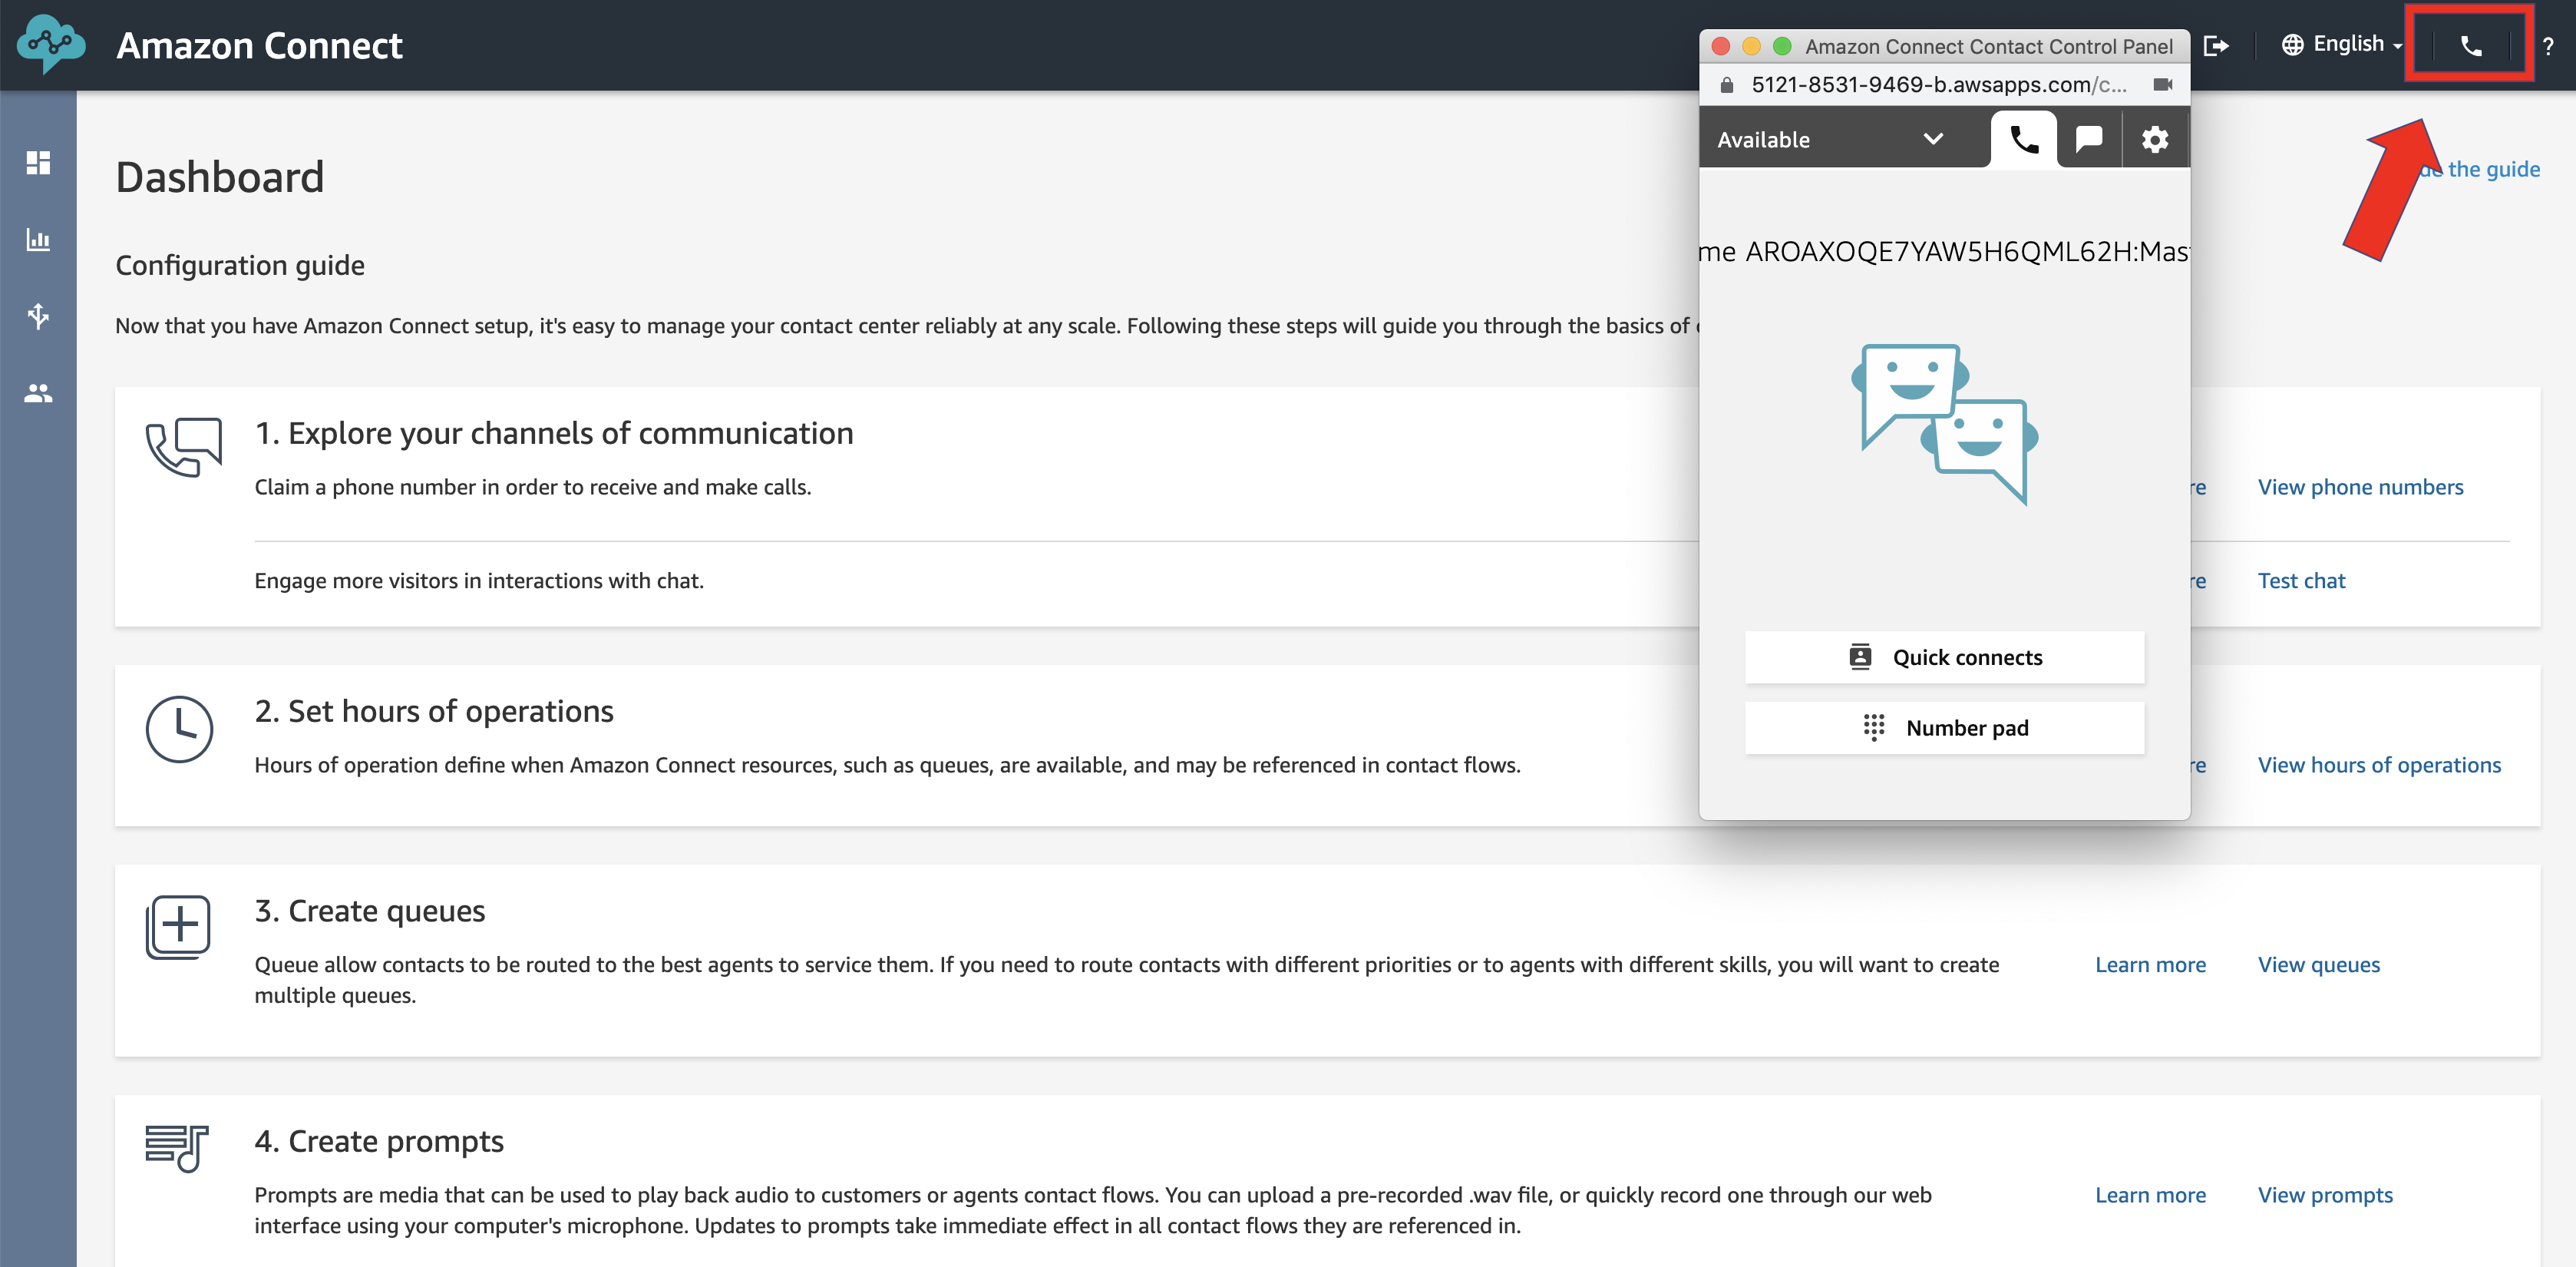
Once your call is in queue, you will see on the screen that there is an inbound call waiting. Now click the
Accept callbutton and get on the call with the (virtual) customer. For the best experience, you should use a head set with your computer for this. And you should have a second person that either plays the call center agent or the customer.You can always open back the control panel for accepting calls later by clicking on the receiver symbol in the upper right corner of your Amazon Connect instance management console as shown in the screen shot below.
Connection between contact center agent and customer is now established. Please simulate a discussion on the phone. Once everything is sorted, either party can end the call. In the console, you can click the End call button. One the phone, you can just hang up.
Usually, the contact center agent would now do their after-call-work. You can simulate another customer call now, if you like. Just click the
Clear contactbutton and make sure your status is still set toAvailable. Once you’re done with all calls, click theContinuebutton.
Explore the consoles
You’ve now landed on the dashboard of your Amazon Connect instance console. Please take a moment to explore the console options.
In your other browser tab, you can click on
Amazon Connect AWS consoleto go back to the Amazon Connect service console. You will now see your list of Amazon Connect instances, containing the one you’ve just created. Please also take moment to explore the console options here.
Check your call recordings
Let’s now have a look at our call recordings. Please go to the AWS management console and find the Amazon S3 service.
On the Amazon S3 console, find the bucket that was created as storage for your call recordings earlier. You were asked to take a note about the name of the bucket.
Click on the bucket name and then click your way through the virtual directory structure until you see the S3 objects for your call recordings.
Click the check box next to one of your call recordings to see some details about the S3 object. A
Downloadbutton also becomes available now. Download a call recording to your computer and use a suitable app to play it.
Conclusion
Congratulations!
You have successfully launched your virtual contact center in the cloud, claimed a phone number, performed one or more test calls, explored both the Amazon Connect service console as well as your Amazon Connect instance console, and listened to your call recordings on your computer.